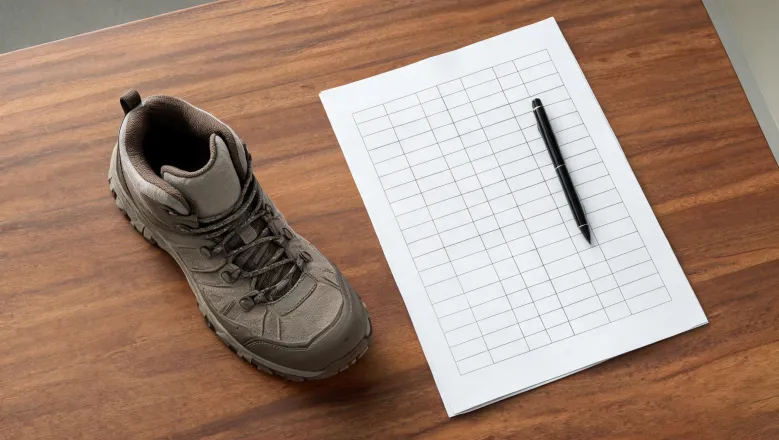
How much reinforcement is worth its weight in a custom hiking shoe sample? Weigh the submitted pair and hold that number against the reinforcement map you specified, because at quotation stage no document in a normal sourcing file tells you how long a toe bumper or an outsole will survive. The scale is the one measurement your team takes without trusting anybody.
The order matters: budget before overlays, inspection before argument, logged weight before approval.
What Reinforcement Costs in Sample Weight
Rubber toe bumpers, heel protectors, side and instep panels, and thicker outsoles raise durability, and every one of them adds mass. A toe bumper is the abrasion-resistant wrap bonded over the front of the upper; the heel protector is the stiffened cup that holds the back of the foot; the outsole is the rubber bottom unit that meets the ground. Hiking-shoe selection guidance published by Salomon states the tradeoff without softening it: those reinforcements make the shoe heavier, and the lightweight end of the range reduces fatigue while giving up durability.
Fatigue is worth separating from wear, because the two costs land on different people. Fatigue shows up in the last hour of a long day and gets blamed on fitness; wear shows up as a blown toe seam partway through the season and gets blamed on the supplier. Mass position matters as well: material low in the shoe swings through a longer arc than material near the collar, so the same grams cost more under the foot than above it.
Thicker outsoles also protect the sole of the foot, which is a separate claim from wear life and belongs in a separate column of your review. Thickness buys material between your foot and a sharp rock edge; it does not predict how fast the compound wears, because wear rate follows compound hardness, abrasion resistance and how the shoe is actually used, not thickness alone.
A supplier who answers all three questions with the single word durable has answered none of them, because durability, underfoot protection and fatigue are three separate outputs of one material decision and each has to be asked for on its own terms.
That guidance is one brand's selection advice for its own line, not a test report on your sample. It carries no abrasion cycles, no bond-strength results and no material densities, which means its defensible use is as a design warning and a generator of questions, not a promise you can forward to a customer.
Set the Weight Budget First
Start from mass arithmetic. The mass an overlay adds is its area times its material density times its thickness, so each panel is a bill paid in grams, and doubling coverage area roughly doubles that bill for the same material. The reason to fix the budget before choosing overlays is that reinforcement is purely additive: coverage can be added at any point in the program, but it cannot be taken back without a number to take it back from.
The sequence: name the intended use and the acceptable pair mass for the size you will actually approve; split that total across upper, reinforcement, outsole and midsole; assign each zone a coverage depth and a material; keep a margin. The margin exists because the reading moves with size grading, with insole state and with lacing, and because the scale itself has a resolution. Room you reserve on purpose is not slack, it is the only space the supplier gets to move inside. Log the split per zone, because a per-zone budget turns the argument into a question about one overlay instead of the whole shoe.
Suppose two overlay packages built on the same last for the same buyer. Package A carries a rubber toe bumper and a heel counter. Package B carries those plus side and instep panels. If both land inside the budget, B is the better buy: the same wear window with more of the upper covered. If B overshoots by more than the margin, the intended use decides which zone survives — a program whose complaints come from scuffed toes keeps the bumper and drops the side panels, while a program whose failures are heels going soft after repeated flexing keeps the counter.
Check Toe, Heel, Side, and Outsole
Four zones get checked one at a time on the sample that was actually submitted, not on the photo in the spec sheet. Toe: how far the bumper wraps back toward the lacing, how high it climbs, and the bond line where it meets the upper — gaps, uneven adhesive squeeze-out and lifted edges show up before anything else fails. Heel: how high the counter wraps, how stiff it feels under thumb pressure, then the same bond check. Side and instep: panel edges, and whether each edge is stitched, bonded or both. Outsole: thickness at the heel and at the forefoot, measured as two numbers.
Measuring heel and forefoot apart is not fussiness. Molded outsoles vary in thickness across the footprint, and the heel takes impact while the forefoot flexes, so one averaged number hides the two places a buyer actually cares about.
Record zone, material callout, coverage dimension and any visible bond defect, and photograph each zone with a scale reference in frame. None of it converts into abrasion cycles. A clean bond line tells you the sample was assembled properly; it says nothing about whether that bumper outlasts a season.
Weigh the Pair and Log the Delta
Weigh it before you argue about it.
Use a calibrated scale and write down its resolution, because a difference smaller than one increment is not a difference. Weigh the approved size with the insole in and the lacing as shipped: left shoe, right shoe, then the pair. Set the grams against the budget line they belong to and log the gap to the approved figure. Photograph the readout with the sample ID tag in frame so the number and the shoe cannot be separated later. Run the pair weighing twice; if the second reading moves by more than one increment, the problem is placement or the scale, not the sample.
A pair weight with no budget beside it is trivia.
Ask Suppliers These Reinforcement Questions
Ask for the reinforcement bill of materials zone by zone: toe, heel, medial side, lateral side, instep, outsole. For each zone, the material callout with density or thickness, and whether the part is molded, bonded or taped. Ask specifically whether the toe bumper is a separate molded part or a wrap of tape, since the two behave differently at the bond line and are not interchangeable in a later revision. Answers that arrive as a photo with arrows usually mean the specification was never written down, which is a risk you inherit on the second production run, not the first.
Then the numbers that make a sample reviewable: expected pair mass by size, the change history between sample rounds, and how outsole thickness is controlled on the line, whether by mold cavity identity or by a check at the press. Add the test question: which method, run by whom, on which round, with the report available. A supplier who can name the method is easier to work with than one who repeats the durability line, and a supplier who cannot is an open item rather than a rejection until the sample has been weighed and inspected.
Everything a quotation package normally leaves out stays open on purpose: capacity audit, lead-time commitment, certification, third-party report. A clean sample does not close any of those, and treating it as if it did is how a good first round becomes a bad third shipment.
Approve the Lightest Set That Covers Wear
Approve the lightest reinforcement set that covers the named wear zones and matches the measured budget. Reject a set that grew coverage without a logged weight delta, and reject a set whose justification is a durability slogan rather than a zone, a material and a scale reading. This settles first-round sample approval; it does not settle production consistency, which is a separate question about control at the line.
The tradeoff comes down to wear window against mass and ground feel. More toe, heel and side coverage plus a thicker outsole buys a longer window and more protection underfoot; it costs grams and it costs feel, since more material between your foot and the trail blunts the feedback that keeps you steady on loose rock. Less coverage saves both and shortens the window.
Write the choice into the approval record — zones bought, pair mass accepted, mass given up, zones deliberately left bare — so the next round negotiates against a recorded decision instead of somebody's memory of it.

Leave a procurement comment